
ClearPass can be configured to use Okta for Single Sign-on using SAML for administration, Guest or Onboard provisioning.
This post will be focused on using Okta for administrative login.
Okta Application Configuration
An Application must be created in Okta to support this, with a appropriate management user group(s) assigned.
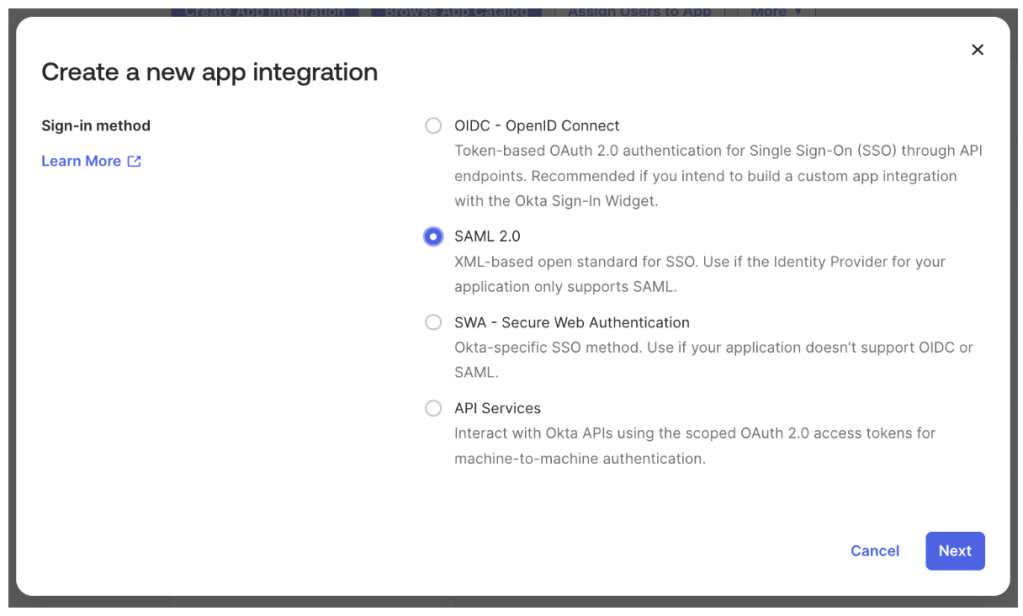
1. Navigate to Admin Console > Applications > Applications and click Create App Integration
2. Select SAML 2.0
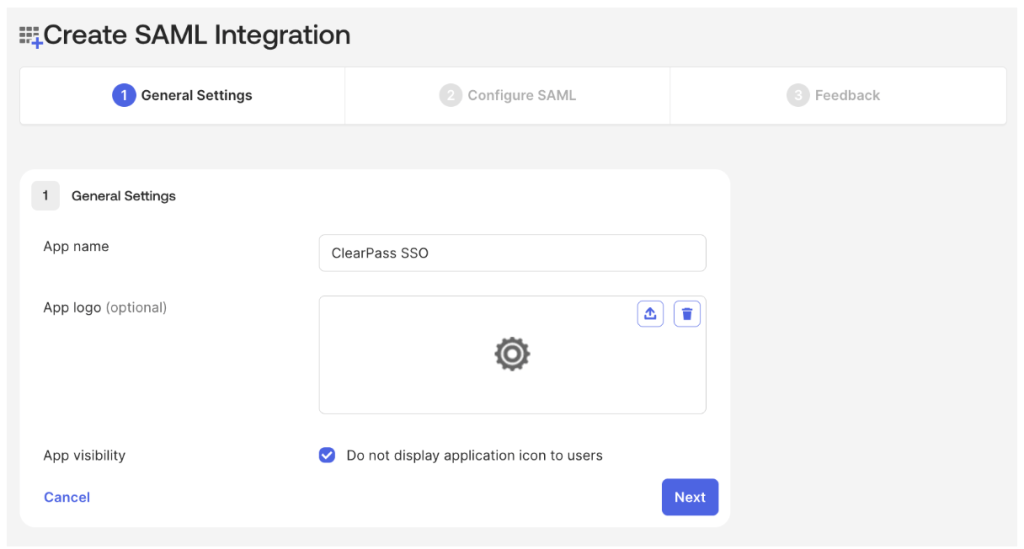
3. Enter a name for the App, check Do not display application icon to users and click Next
4. Populate the Single sign-on URL and Audience URI (SP Entity ID) fields based on the values below:
Single sign-on URL
https://<Publisher FQDN>/networkservices/saml2/sp/acsAudience URI (SP Entity ID)
https://<Publisher FQDN>/networkservices/saml2/sp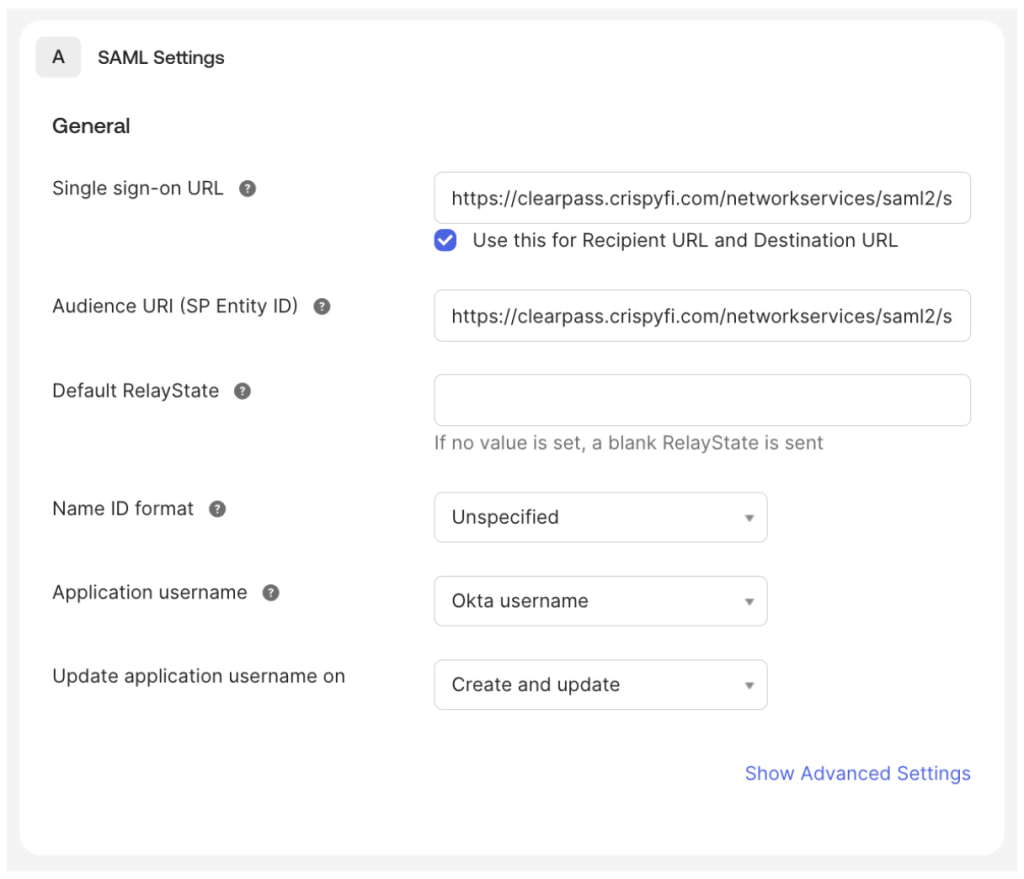
5. Click Show Advanced Settings, and click + Add Another under Other Requestable SSO URLs
6. Enter a unique SSO URL for each Subscriber based on the value below, starting with Index 0
https://<Subscriber FQDN>/networkservices/saml2/sp/acs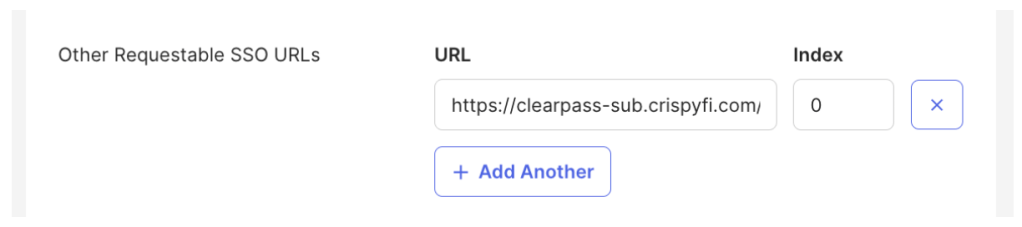
7. Click Next then Finish
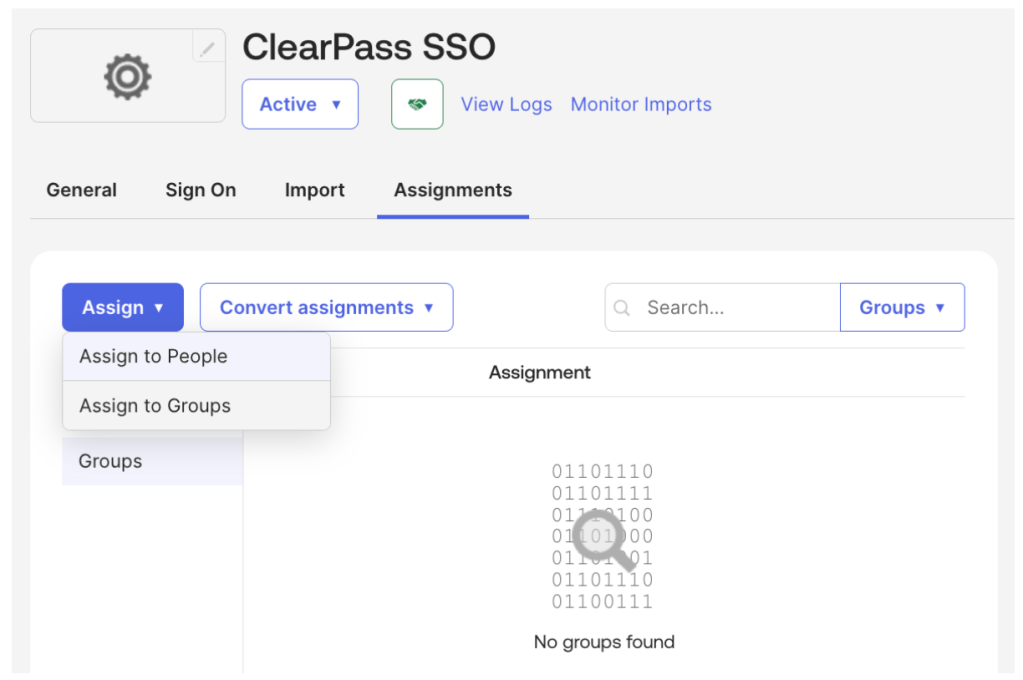
8. Navigate to the Assignments tab, then click Assign, Assign to Groups
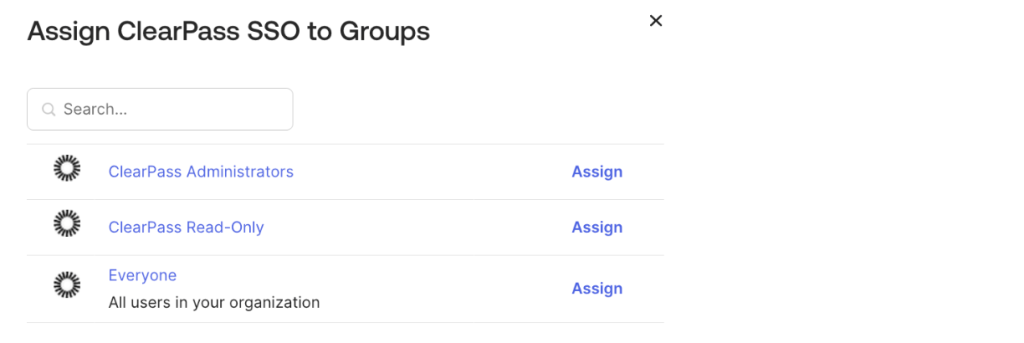
9. Click Assign next to the group(s) appropriate to your environment and click Done

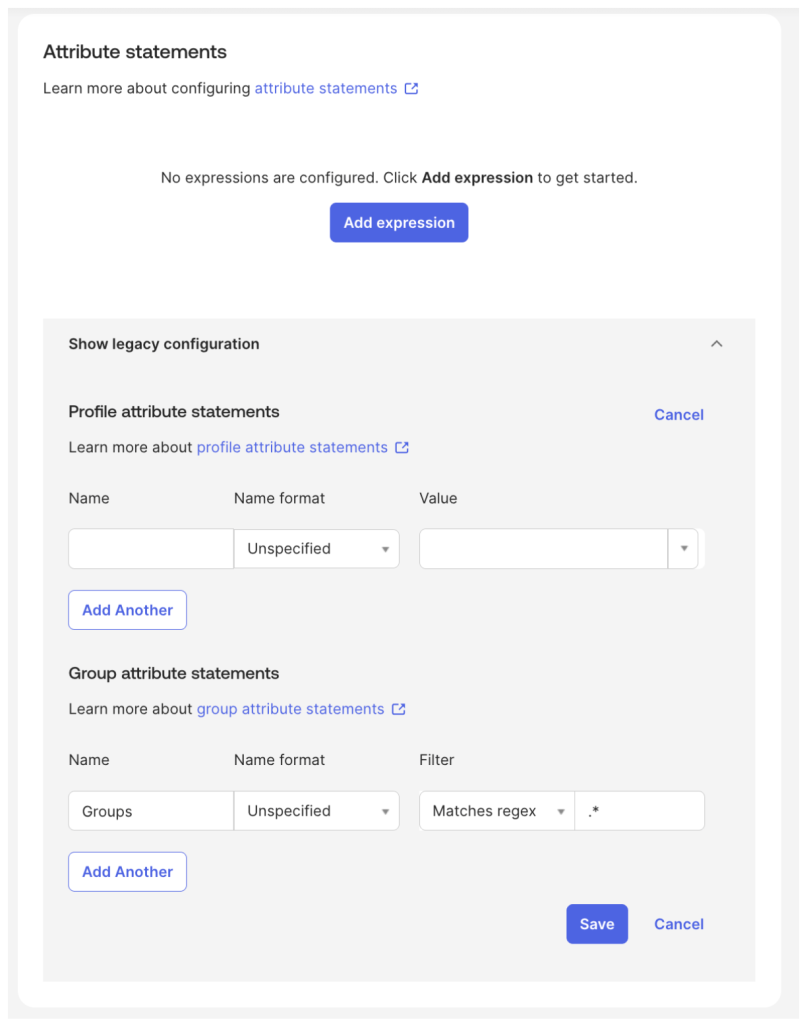
9. Navigate to the Sign On tab, scroll down to Attribute statements and expand Show legacy configuration and click Edit
10. Add the following configuration under Group attribute statements and click Save
| Name | Name format | Filter | Expression |
|---|---|---|---|
| Groups | Unspecified | Matches regex | .* |
This statement will return a list of all Okta groups that a given user is a member of in a SAML Attribute called ‘Groups’.
This list will be used by ClearPass to assign the appropriate role.
Alternatively, the following statement can be used to only return groups that begin with the string ‘ClearPass’:
| Name | Name format | Filter | Expression |
|---|---|---|---|
| Groups | Unspecified | Starts with | ClearPass |
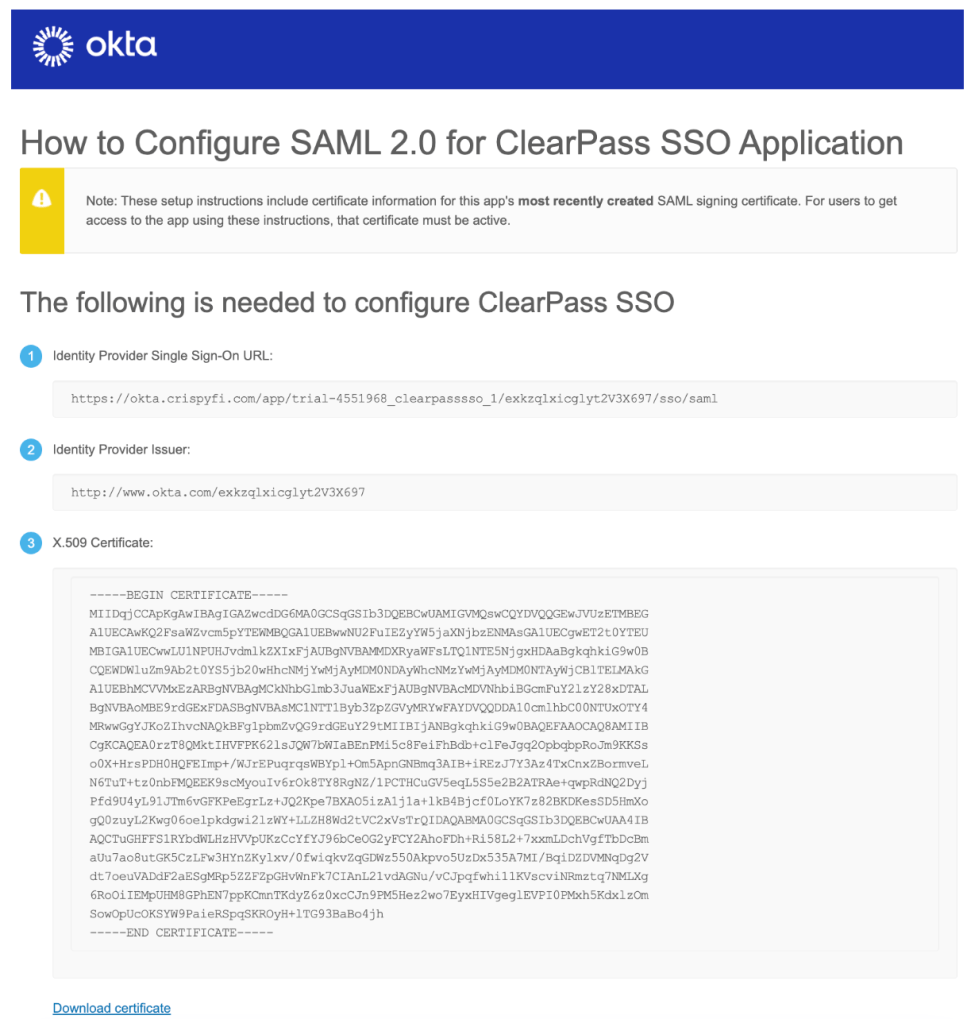
11. Scroll up to the top of the Sign on tab and click View SAML setup instructions
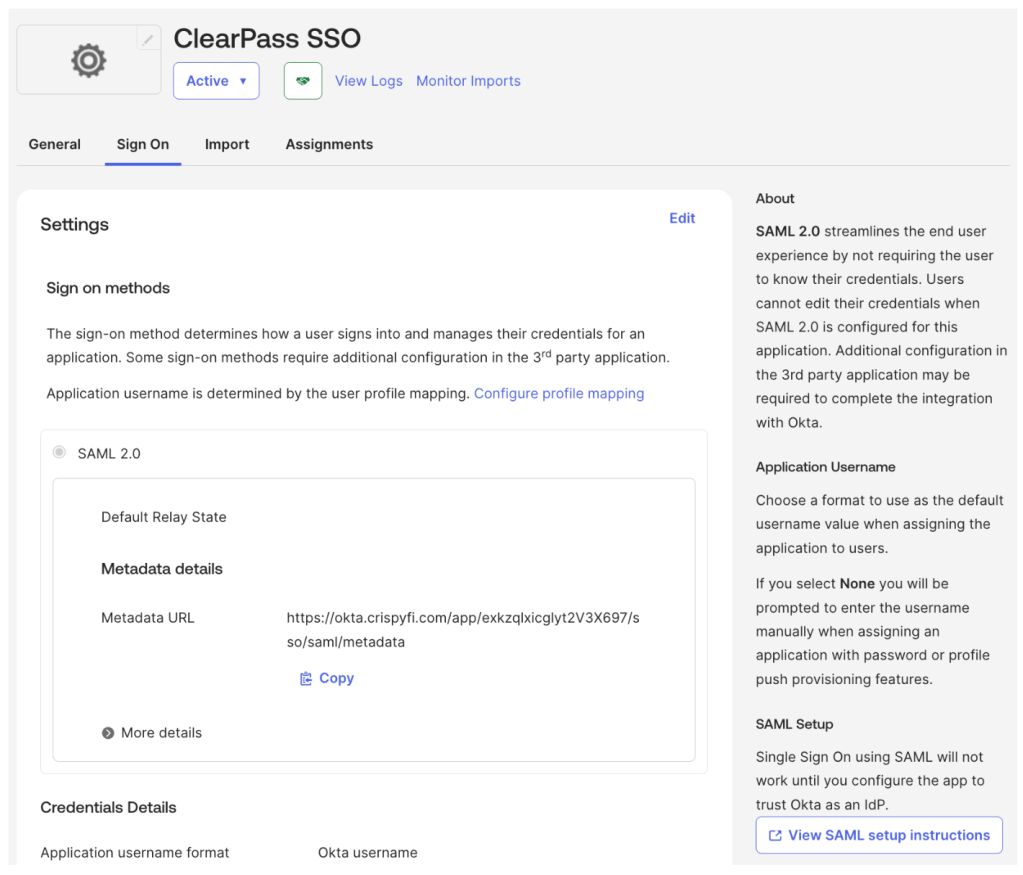
12. Record the Identity Provider Single Sign-On URL and click Download certificate
ClearPass Configuration
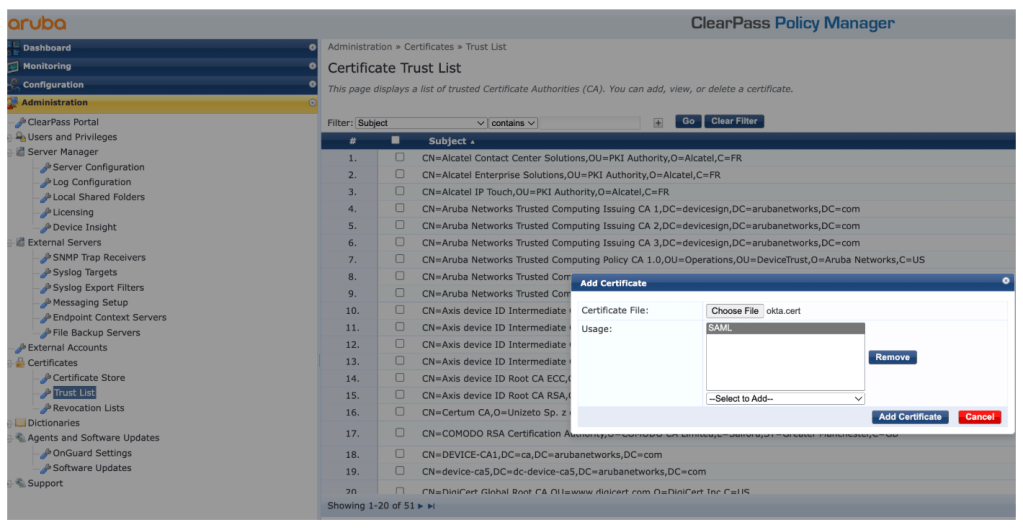
1. Navigate to Administration > Certificates > Trust List and click Add to upload the previously downloaded certificate with the SAML Usage
2. Under Configuration > Identity > Single Sign-On (SSO), edit the following:
Identity Provider (IdP) URL<Identity Provider Single Sign-On URL recorded from Okta>
Enable SSO for
- PolicyManager
- GuestOperators
- Insight
Identity Provider (IdP) Signing CertificateemailAddress=info@okta.com,CN=...
NOTE: It is recommended to enable SSO for only one application initially (e.g. GuestOperators) until SSO has been tested successfully.
Enabling SSO for an application will prevent logins to the WebUI using local administrator accounts.
In order to recover access, login to the CLI of the virtual appliance and execute the command below, which will reset all Single Sign-On (SSO) configuration.
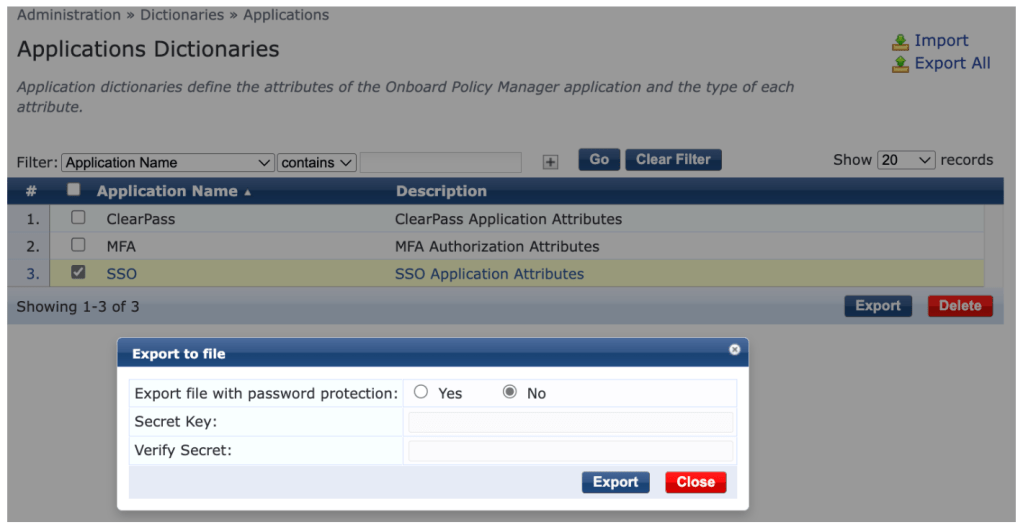
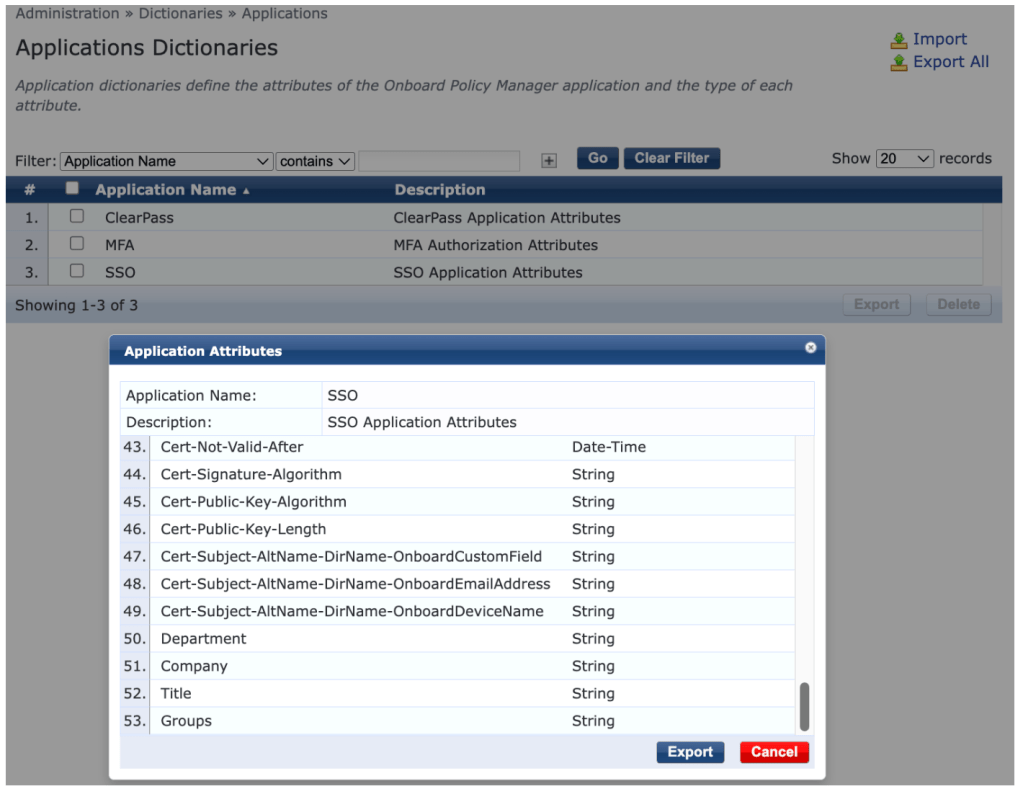
system sso-reset3. Under Administration > Dictionaries > Applications, select the SSO dictionary, click Export, select No then Export
4. Add the following line to ApplicationDictionary.xml:
<ApplDictionaryAttributes attrType="String" attrName="Groups"/>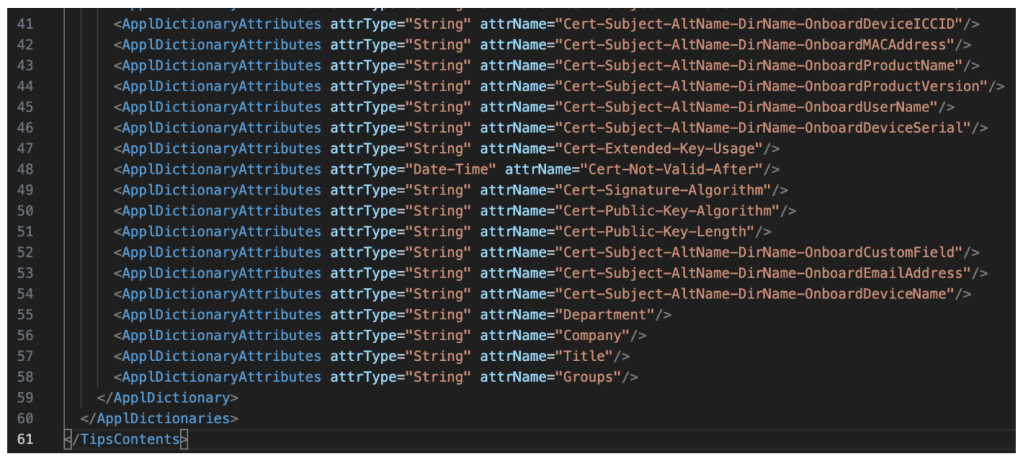
5. Click Import, select ApplicationDictionary.xml and click Import
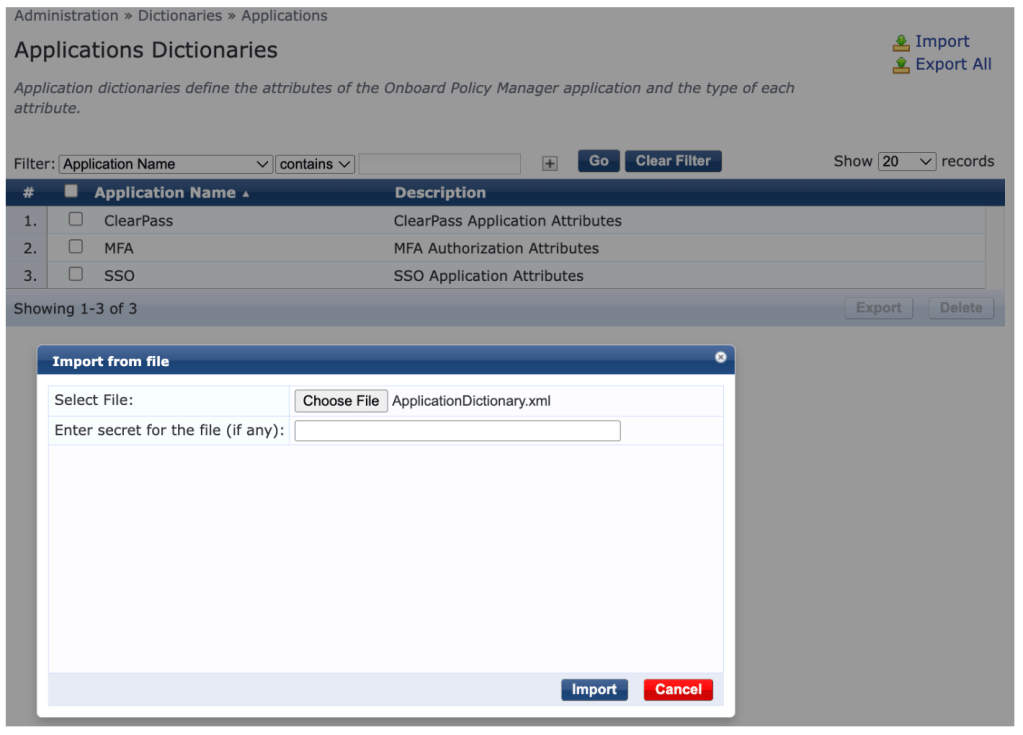
6. Select the SSO Application Dictionary and scroll down to confirm that the Groups attribute has been added
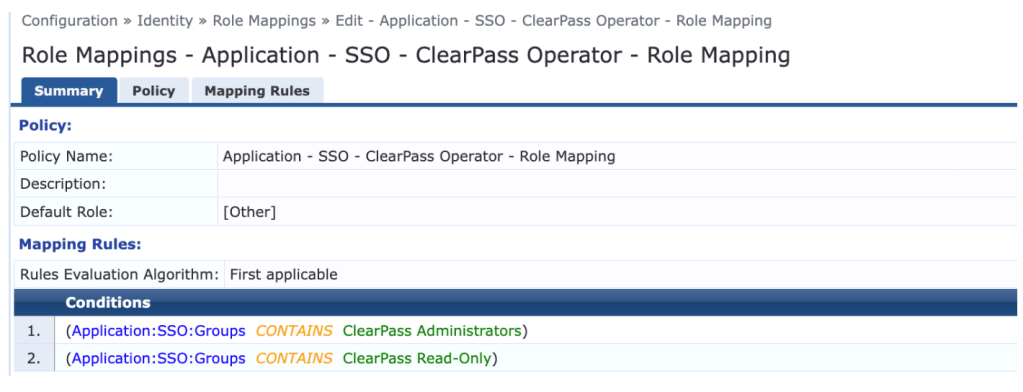
7. Create roles corresponding to your Okta group names, and create a Role Mapping policy according to the screenshot below:
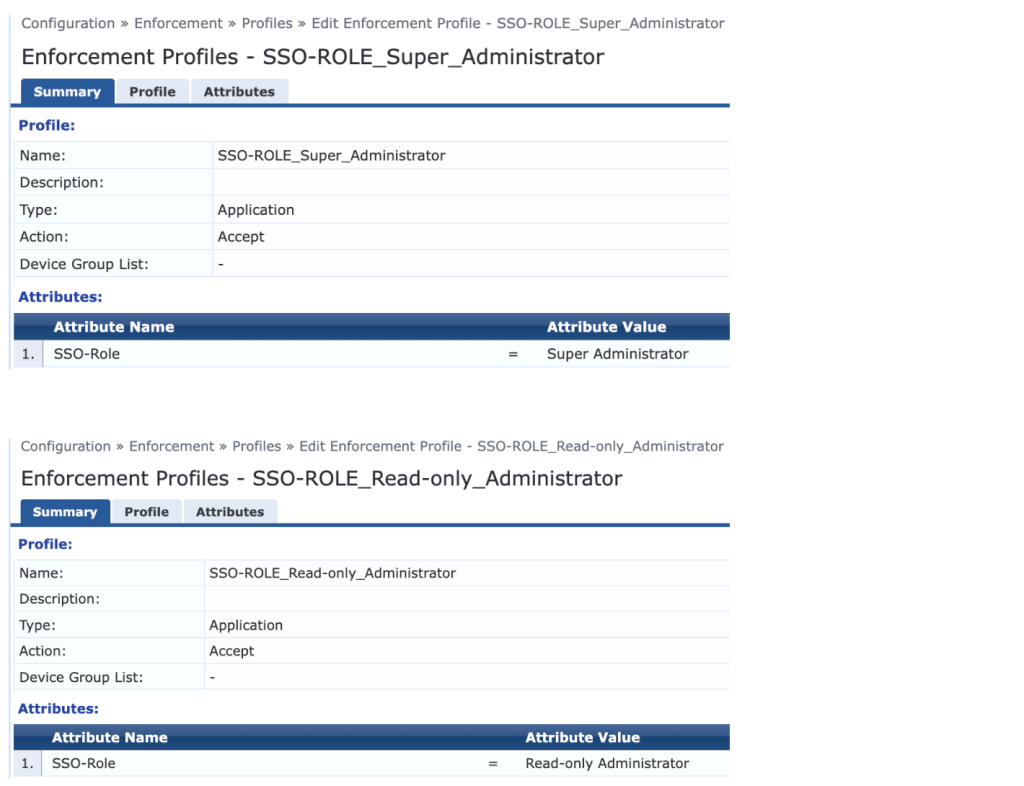
8. Create enforcement profiles which assign the desired SSO roles
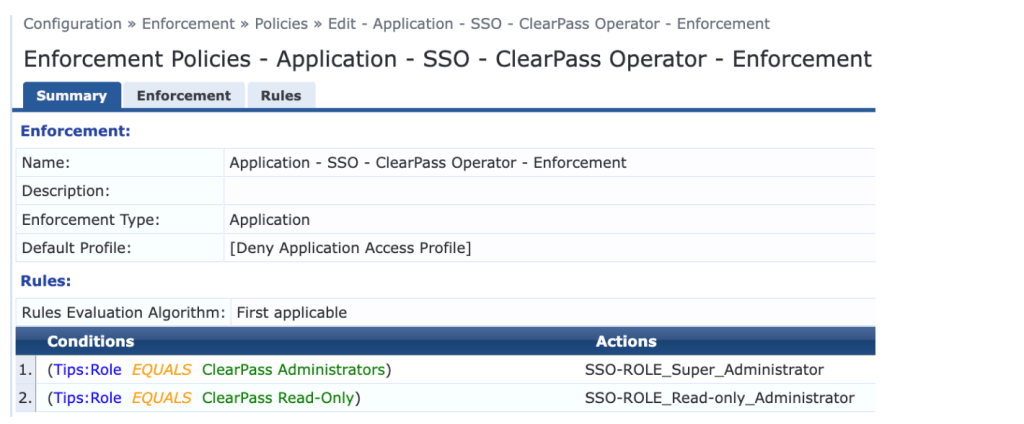
9. Create an enforcement policy according to the screenshot below:
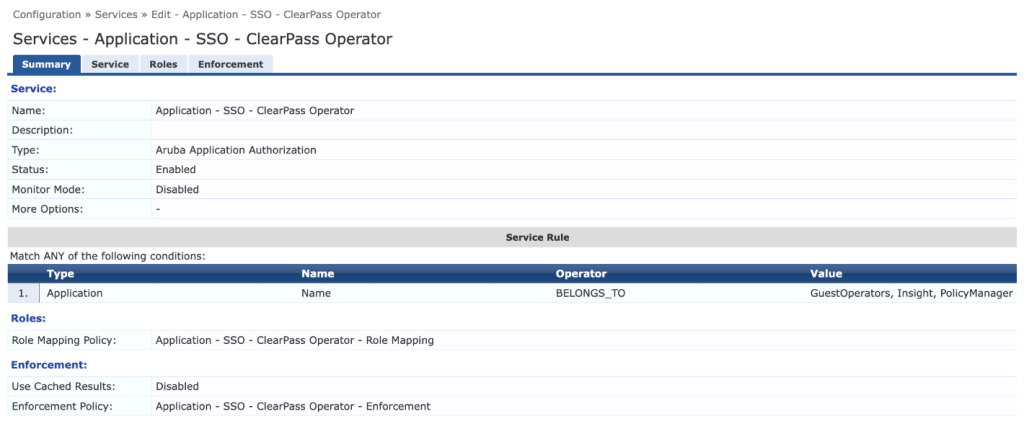
10. Create an Aruba Application Authorization service and select the previously created Role Mapping and Enforcement Policies
Verification
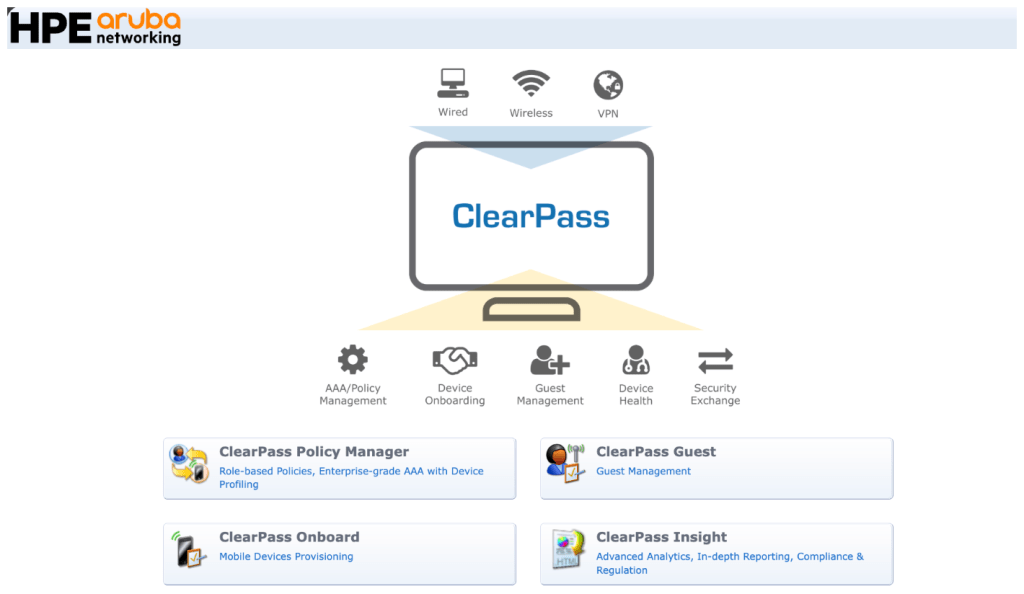
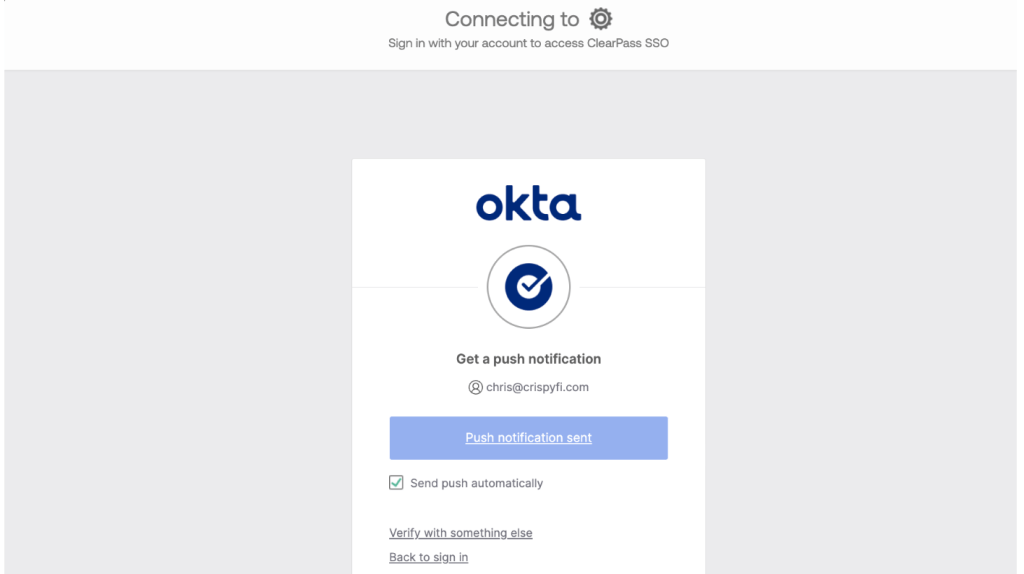
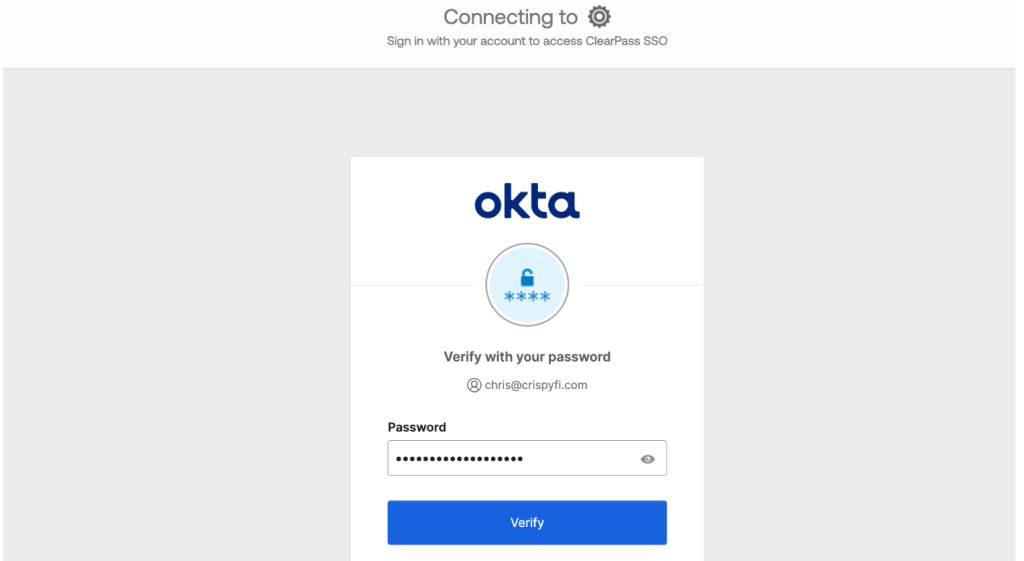
1. In a private browser tab, connect to ClearPas and select the SSO enabled Application
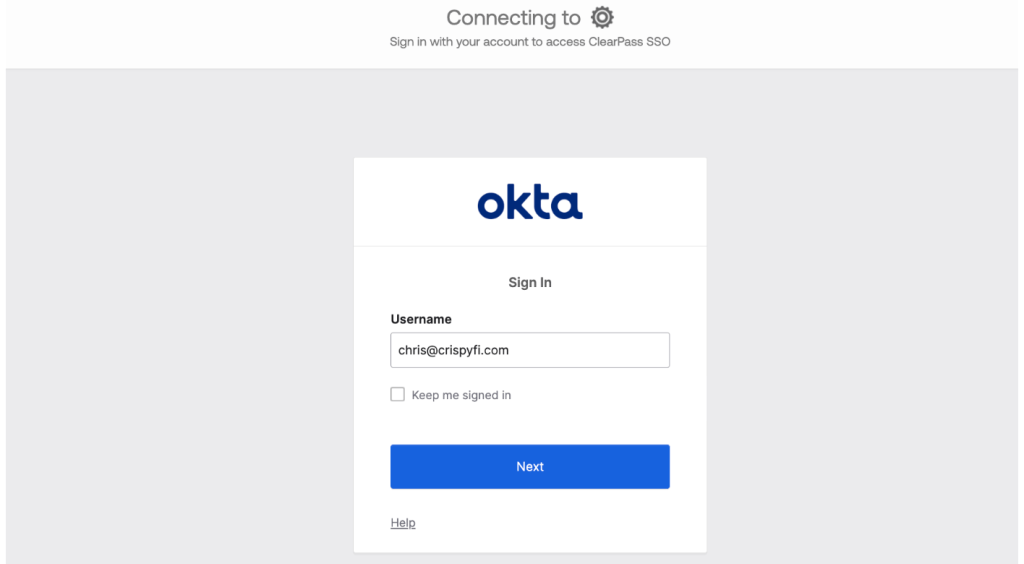
2. Sign in using Okta
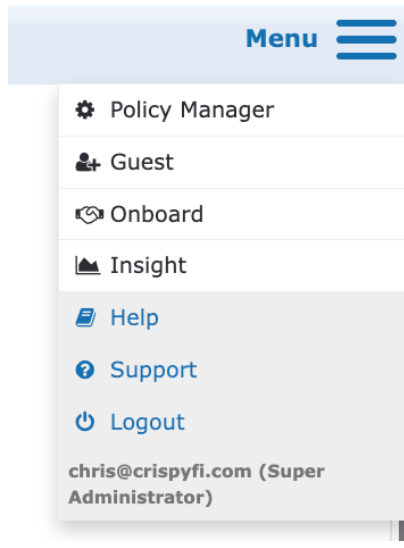
3. Confirm username and role assignment is visible under the Menu in the top-right corner of the screen
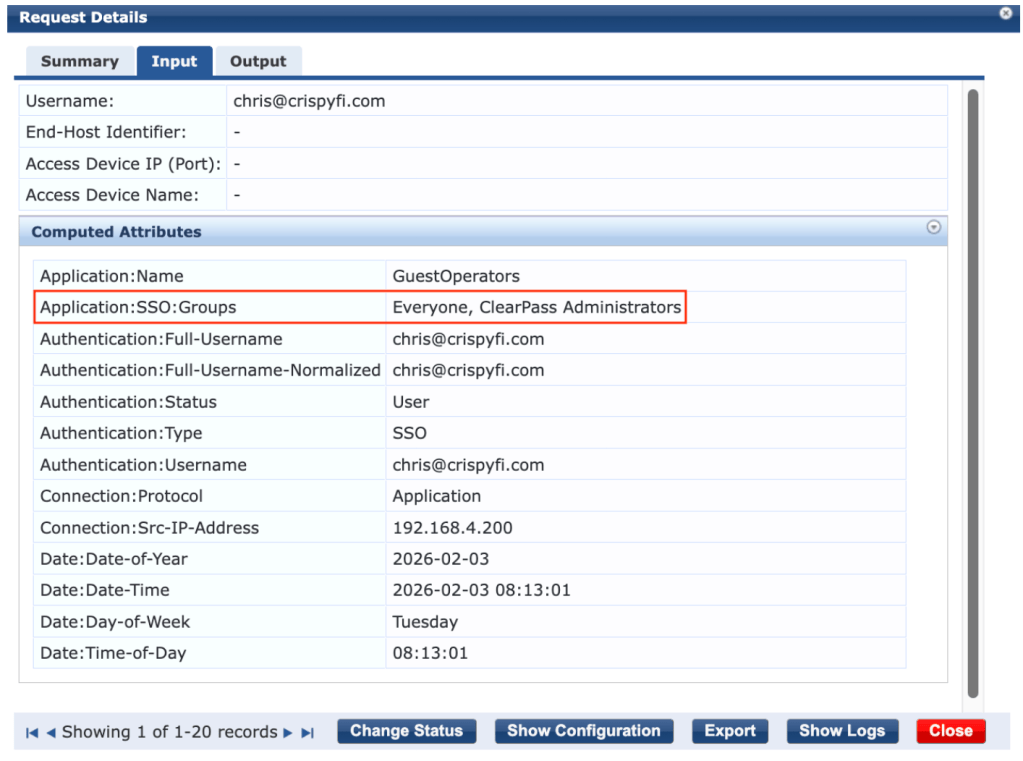
4. Confirm successful authentication in Access Tracker
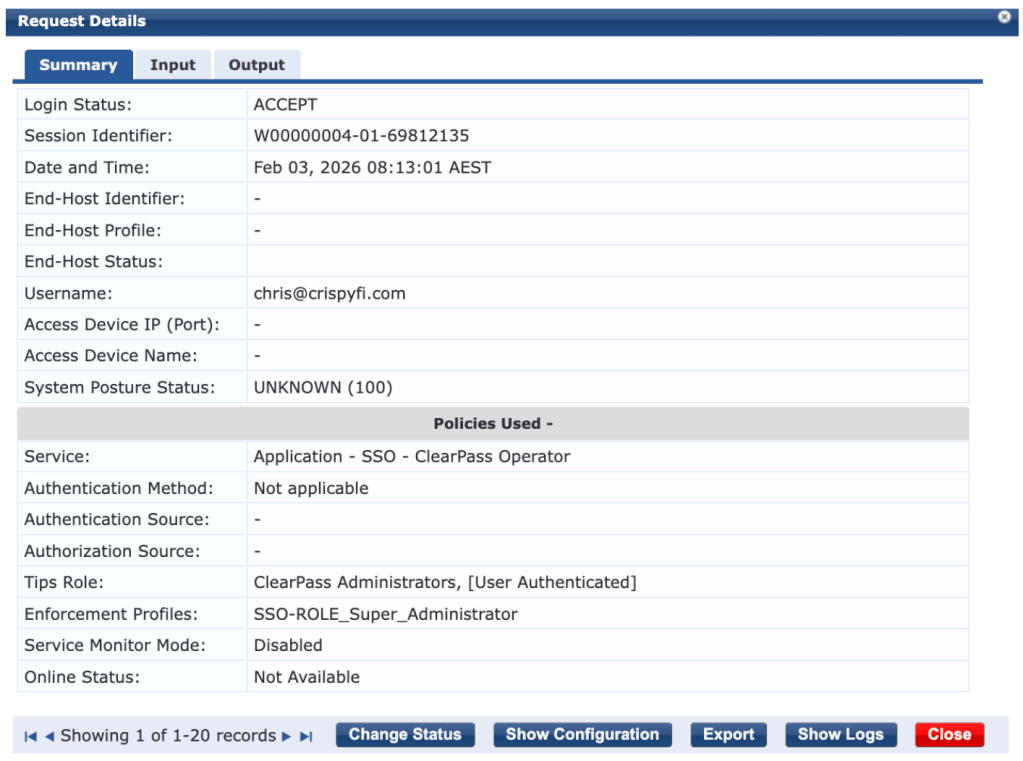
5. Observe returned Okta Groups under Input tab
6. For further troubleshooting, a browser extension such as SAML Tracer can be used to confirm that Okta is including the correct Groups list as SAML attributes. Here is a snippet of output from a successful authentication:
</saml2:AuthnStatement><saml2:AttributeStatement xmlns:saml2="urn:oasis:names:tc:SAML:2.0:assertion"><saml2:Attribute Name="Groups" NameFormat="urn:oasis:names:tc:SAML:2.0:attrname-format:unspecified"><saml2:AttributeValue xmlns:xs="http://www.w3.org/2001/XMLSchema" xmlns:xsi="http://www.w3.org/2001/XMLSchema-instance" xsi:type="xs:string">Everyone</saml2:AttributeValue><saml2:AttributeValue xmlns:xs="http://www.w3.org/2001/XMLSchema" xmlns:xsi="http://www.w3.org/2001/XMLSchema-instance" xsi:type="xs:string">ClearPass Administrators</saml2:AttributeValue></saml2:Attribute></saml2:AttributeStatement>